


DIY Panoramic mount for GoPro camera
Rob sent me a link to a video recently about a panoramic mount for a GoPro camera made out of an egg timer. I had a bit of free time this past weekend, so I thought I’d give it a try.
The concept is fairly straightforward: You mount a GoPro camera on a wind up kitchen timer mounted on a tripod, set the camera to take a picture every few seconds, wind the timer and then wait for it to go ding. As the timer counts down to zero, the camera slowly pans around. Afterwards, you take the time lapse shots and turn them into a video using something like Adobe Premier Elements.
Putting everything together wasn’t that hard, but finding a wind up timer was trickier than I thought it was going to be. In this day and age of electronic gadgets, many timers are digital rather than mechanical. In the end, I found a wind up timer at Walmart for about $6. In order to mount it on a tripod, I needed a 1/4” 20 UNC nut, which I picked up at Home Depot for $0.11. My GoPro came with a selection of adhesive mounts, so I chose the flat version. Some quick-setting epoxy rounded out the shopping list.
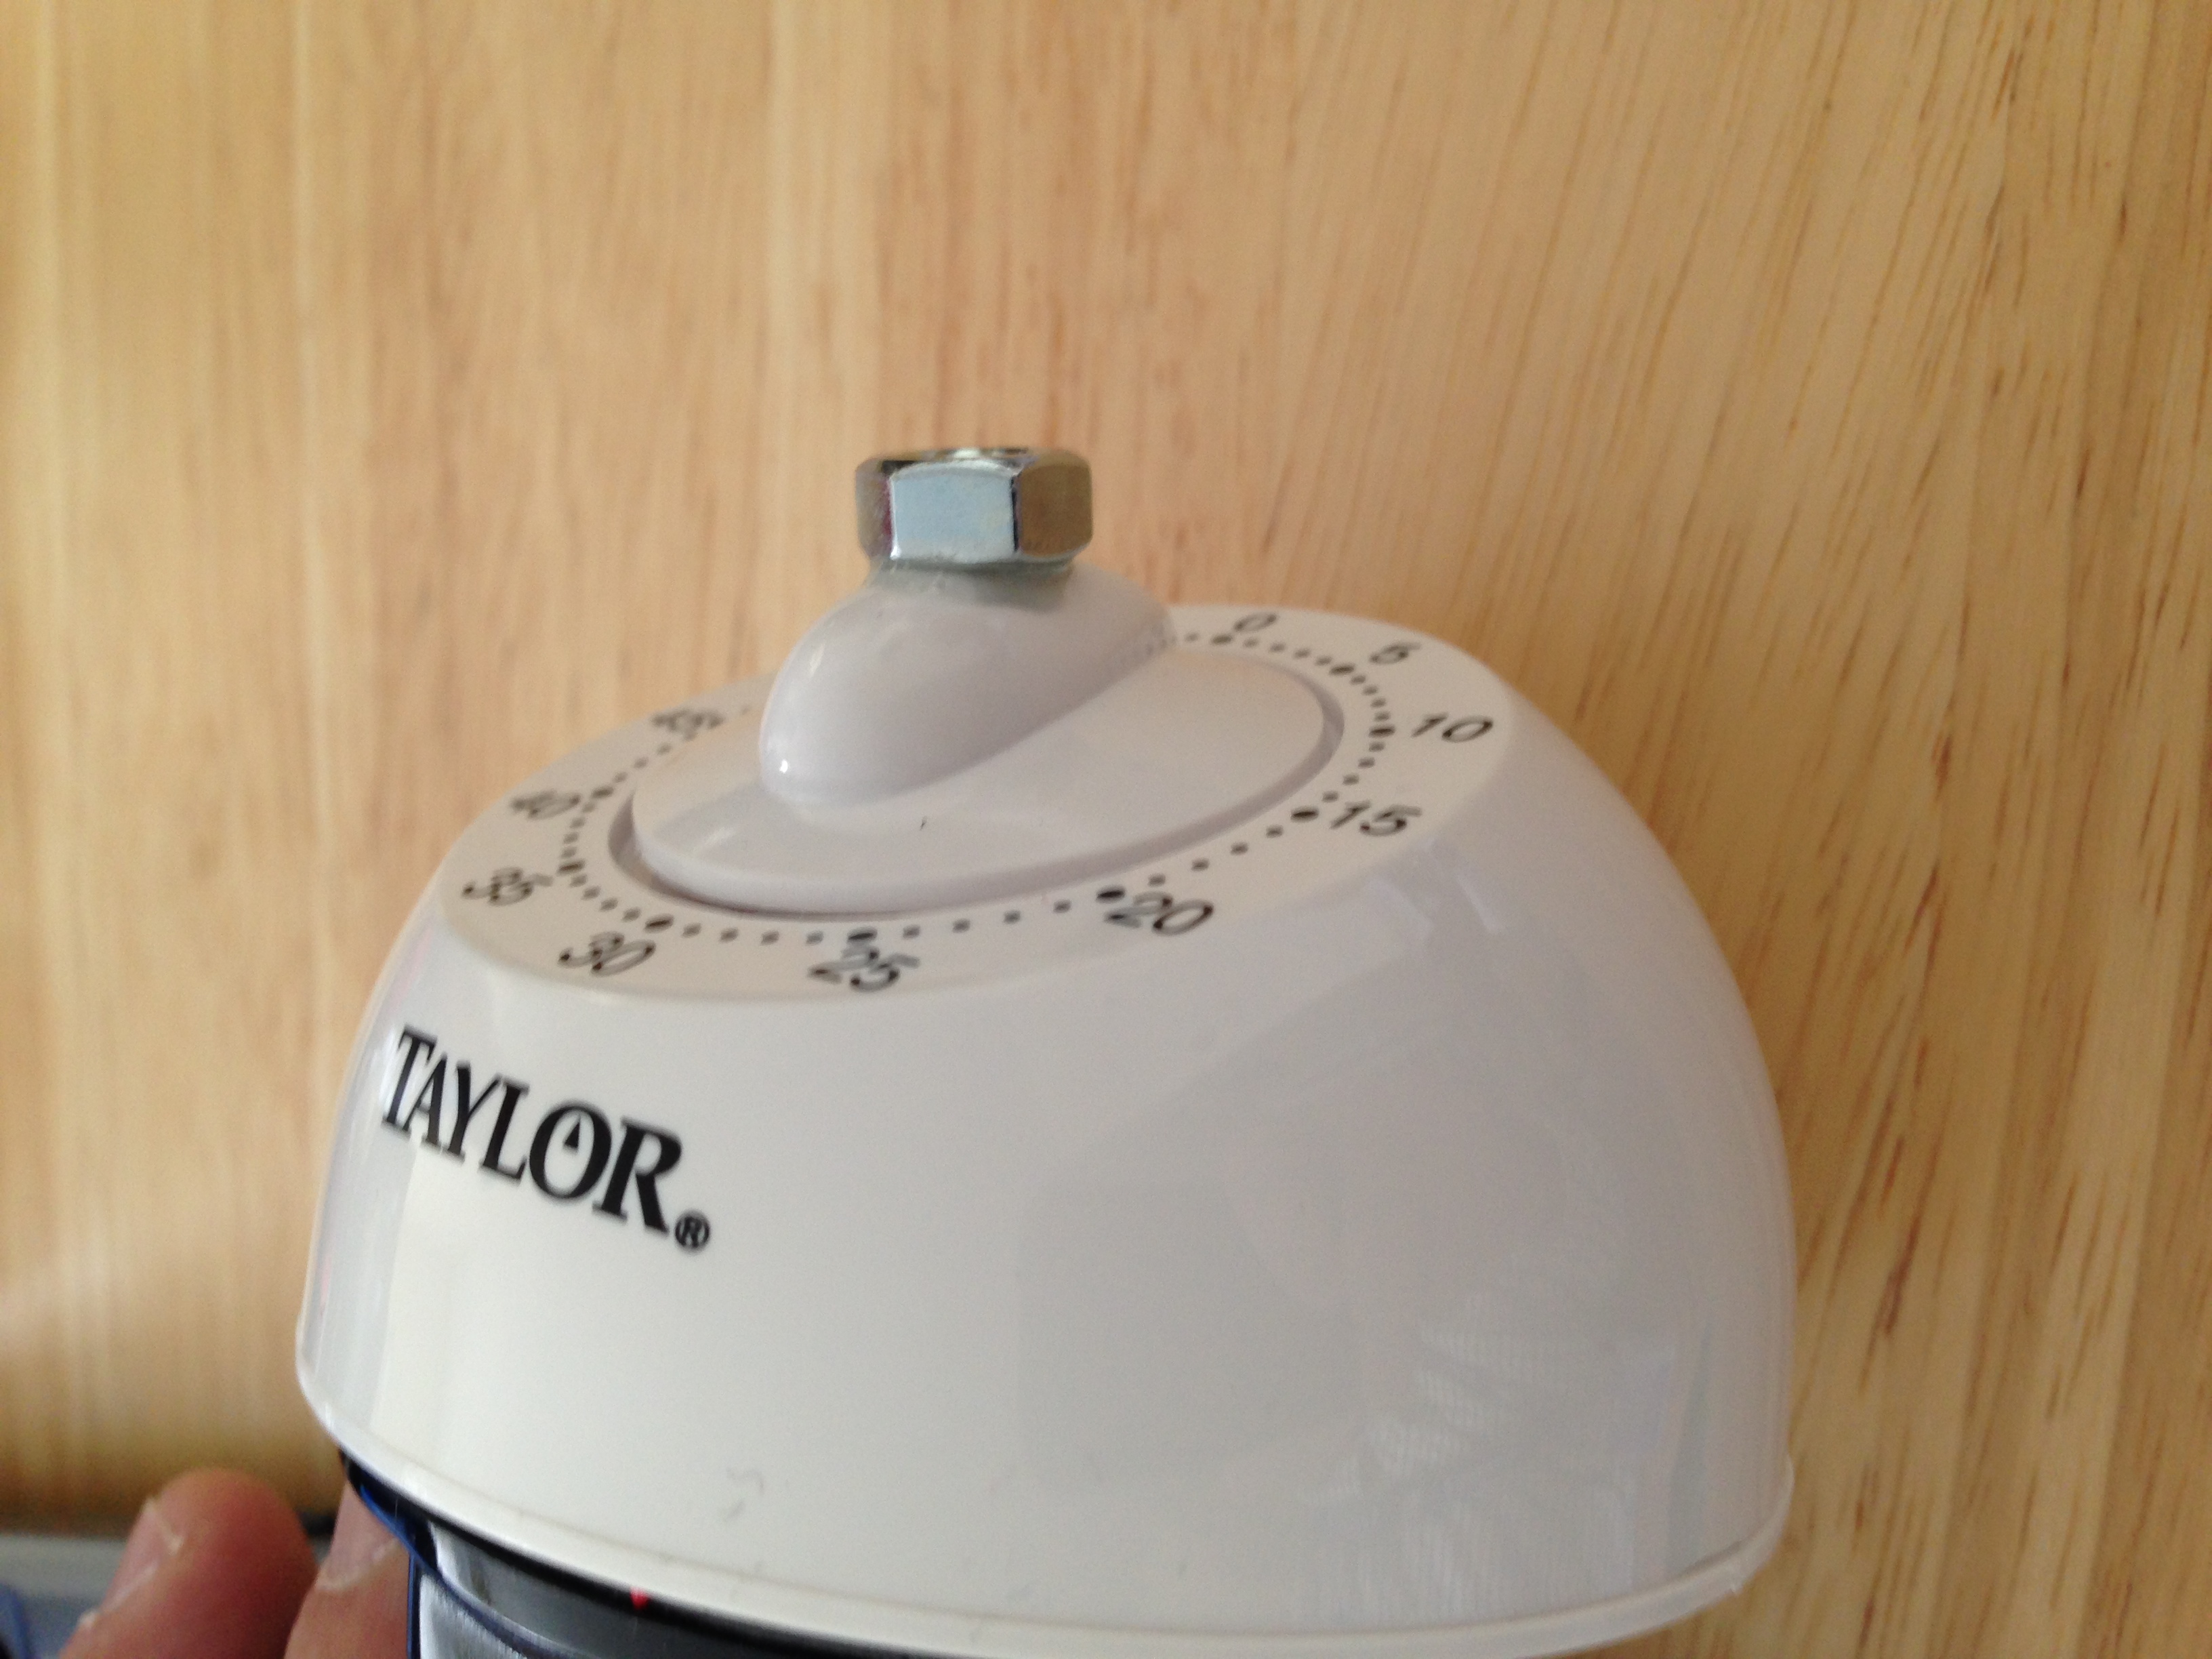 Ideally, I was looking for a flat topped timer, but all I could find was one with a narrow dial. This meant I had to mount the nut on top of the dial and the GoPro mount on the bottom of the timer so that everything would fit.
I attached the nut using the epoxy so that it was aligned with the centre of the dial. I mixed the epoxy on a piece of tin foil and dipped one face of the nut in it, being careful to avoid getting too much epoxy on the threads. Being quick-setting epoxy, I only had a couple of minutes to get it placed properly before I was committed.
 On Sunday, I headed out to the Arboretum and set up my tripod with the timer mount on it. It took a bit of adjustment to get things balanced properly. If the camera was too far off-centre the timer tended to stop. When everything was set up properly, I set the GoPro to take one photo every 5 seconds, wound the timer and let it go.
After about 25 minutes, I packed everything up and headed to the pub.
Using Adobe Premier Elements, I was able to combine all of the images into a video. In the first attempt, I set each image to be displayed for 5 frame (at 30 frames/second), but the result was a little jagged. I fiddled with the settings and produced a version with each image being displayed for 2 frames, which I think looks a lot better.
Here are the two videos:
So, for a first attempt, I’m quite happy with the results. I think I’ll use a lower interval next time, maybe 1 image/second or 1 every 2 seconds and stich that together with 1 frame per image.
The shopping list of parts is quite short:
- wind up kitchen timer
- one 1/4″ 20 UNC nut
- quick-setting two-part epoxy
- GoPro flat adhesive mount
 AKA Keeper of Maps, I'm a geocacher who lives in Ottawa, Canada.

Good idea for me Thanks Gordon